Congrats! You finally did it. You roasted a gorgeous golden, scrumptious, succulent turkey. You spent hours finding and adjusting the perfect recipe. You’re fully convinced just from the smell, that this year your turkey is for sure the best-tasting turkey in the neighborhood.… and then all of a sudden you’re stuck. How do you get from gorgeously whole to perfectly carved?
Although it might seem harder than carving a chicken, it’s really not.
We’ve got your back.
All you need is a Kosher turkey, sharp knife, clean kitchen counter (sorry if we’re asking for too much) and our detailed instructions. Oh, and bonus points for using a cutting board with a juice groove.
Here goes nothing….
- Set up that carving station. Trust us when we say productivity skyrockets when it comes to having a clean kitchen counter with only needed utensils lying out. Mind you, those drying dishes on the counter will not stay clean once the juices of your turkey escape that cutting board.
- Remove the leg and thigh from one side. Position the turkey facing you. (Once you get used to a turkey lying in front of you, you’ll start seeing the art in it.) The leg and thigh should now be closest to you. Use that sharp knife you so readily prepared to slice through the skin between the breast and thigh so you can see the inside. Grab the thigh with no caution and push down until the thigh joint releases and pops out. To finish it off, guide your knife carefully and cut the remaining thigh and leg off.
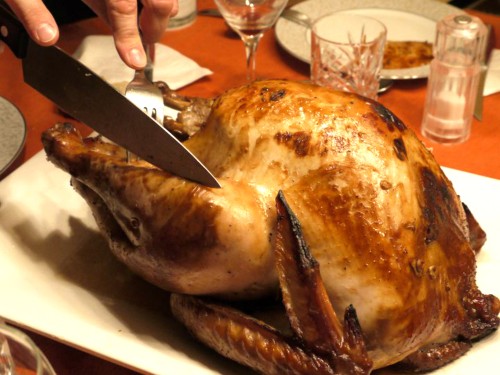
- Remove the breast. Still concentrating on the same side, it’s time for the breast to come off. Carefully slice through that crispy skin on the top of the turkey along the breastbone directly from the neck joint. Continue through the breast meat, along with the rib bone, removing as much meat as possible.
- Remove the wing. Time for some wing action. Pull the wings back, and cut at the joint. It should release pretty quickly. Least work for the yummiest part – ironic, no?
- Repeat on the other side. You’re probably a pro by now at locating the right area of the turkey in a jiffy. Turn the turkey so the neck is now facing you. Remove the thigh and leg first, followed by the breast and wings.
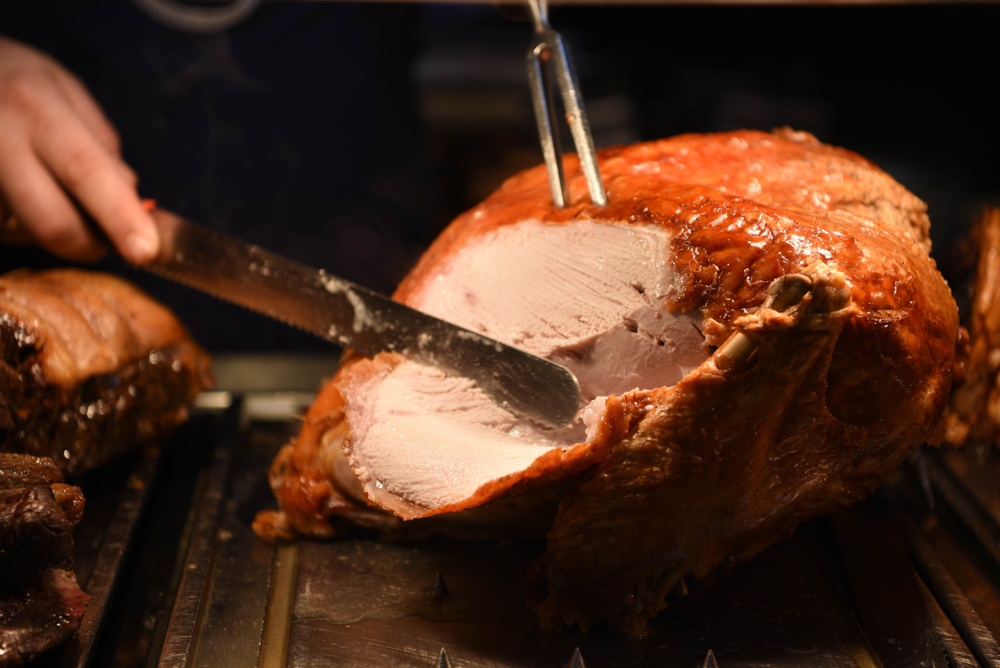
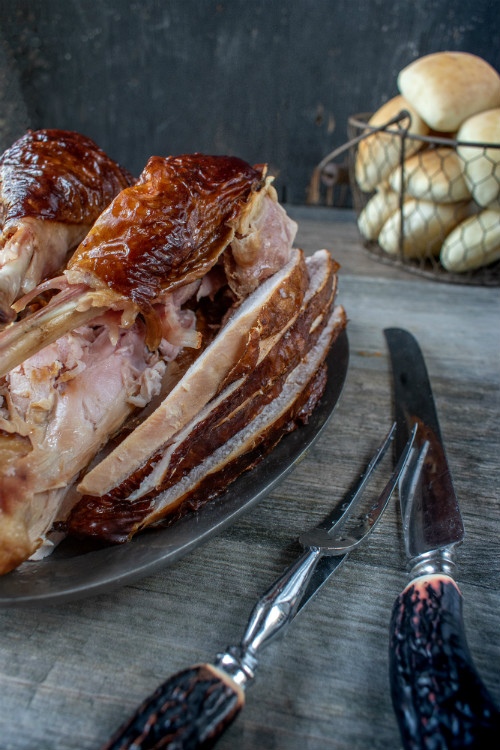
- Slicing & Plating. The complicated parts are officially over!! Now for the presentation bit. The meat on the thighs should be easy to cut off from the bone. For decent pieces, slice the breast crosswise at a slight angle into quarter-inch-thick slices.
And just like that not only does your turkey smell and taste like heaven, but it also looks like you actually know what you’re doing with a sharp knife. Cutting skills on point.
Happy Thanksgiving!
Written by Lubicom for Kosher.com